
Key Takeaways
- Remove standing water quickly using pumps or wet vacuums to limit contamination and structural damage.
- Wear protective gear and clear damaged debris, porous materials, and hidden waste from the affected area.
- Dry walls, floors, and concealed spaces thoroughly with fans and dehumidifiers to prevent mold growth.
- Clean surfaces first, then use EPA-registered disinfectants with proper contact time for safe sanitizing.
- Call professionals for sewage, asbestos, or severe structural damage to ensure safe, compliant recovery.
Start Flood Cleanup by Removing Standing Water
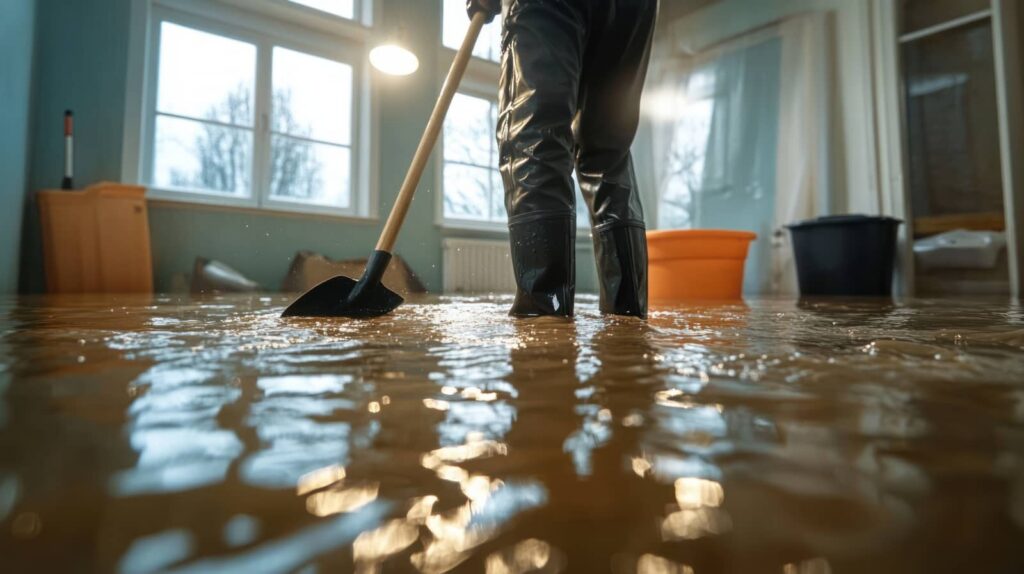
Begin flood cleanup by removing standing water as soon as it’s safe to do so, because lingering water can spread contaminants, damage materials, and slow drying.
You should use a pump, wet vacuum, or professional extraction equipment sized for the area, and you’ll get better results when you work from the lowest point outward.
Keep electrical hazards out of the work zone, and don’t wade into water that could hide sharp debris or sewage.
As you remove water, you’re starting the flood cleanup and sanitizing process by limiting microbial growth and reducing absorbed moisture in floors, walls, and furnishings.
Track progress with consistent inspections, and maintain ventilation to support drying.
When you act quickly and methodically, you help your home recover faster and join a safer, cleaner space.
Remove Damaged Items and Debris
Once the standing water is out, remove damaged items and debris so you can expose hidden moisture and eliminate contamination sources. You should work methodically and keep salvageable items separate from those that can’t be restored.
Wear protective gear, then sort waste into clean, porous, and hazardous categories. Move each load out quickly to reduce odors and microbial spread.
- Split drywall chunks, soaked insulation, and warped baseboards into disposal piles.
- Stack saturated furniture, ruined rugs, and broken appliances away from traffic paths.
- Bag sharp debris, mud-caked contents, and contaminated textiles for proper removal.
You’re building a safer workspace for everyone involved, and that shared discipline matters.
As you clear each room, inspect for debris trapped behind fixtures, under cabinets, and along baseboards, where contamination often lingers.
Dry Walls, Floors, and Hidden Spaces
With the debris cleared, you can dry walls, floors, and hidden spaces to stop moisture from feeding mold and structural damage. Open windows if weather allows, then run dehumidifiers and air movers to push dry air across wet surfaces.
Remove baseboards and drill small inspection holes where trapped water may linger inside wall cavities. Lift carpeting and pads so the subfloor can release moisture evenly. Check under cabinets, behind appliances, and inside closets, because these concealed areas often stay damp long after visible surfaces look dry.
Use meters to confirm acceptable readings before you close anything back up. If you work methodically, you’ll protect the structure and keep your recovery crew aligned. Drying every layer helps your home return to a stable, safer condition.
Prevent Mold After Flood Damage
You need to act quickly to prevent mold growth after flood damage, because moisture left in building materials creates ideal conditions for colonization.
Use controlled drying and dehumidifying to reduce indoor humidity and pull trapped water from walls, floors, and concealed cavities.
Keep monitoring surfaces and concealed areas until all materials are fully dry, since even small residual moisture can trigger recurrence.
Mold Growth Prevention
Mold can begin developing within 24 to 48 hours after flood damage, so rapid drying and sanitizing are critical to prevent further contamination. You need to remove porous items that can’t be fully cleaned, because hidden spores spread fast and weaken indoor air quality.
Clean all hard surfaces with a detergent solution, then apply an EPA-registered disinfectant to limit regrowth. Keep your team aligned by checking damp zones daily and sealing cleaned areas from recontamination.
- Dark baseboards with a chalky film
- Damp drywall seams behind furniture
- Stained corners with a musty odor
You’re protecting the space, your health, and everyone who returns. Consistent control of moisture sources and immediate surface treatment help you restore a safer, cleaner environment with confidence.
Drying And Dehumidifying
Drying and dehumidifying should begin immediately after floodwater removal to lower moisture levels before mold can establish itself.
You need to open walls, remove wet insulation, and expose hidden cavities so air can move through every affected space.
Position high-velocity air movers to sweep moisture from surfaces, then run commercial dehumidifiers to pull vapor from the air and speed evaporation.
Monitor humidity, material moisture content, and temperature with calibrated meters; you’re aiming for conditions that keep mold from gaining a foothold.
Replace saturated porous materials that won’t dry fully.
Keep the area sealed from outside moisture, and document readings so you can verify progress.
When you follow this process, you protect your home, your health, and your recovery team.
Disinfect Flood-Damaged Surfaces
You should select an EPA-approved disinfectant that’s labeled for flood-damaged surfaces and the specific contaminants you’re targeting.
First, clean away mud, debris, and organic residue, because disinfectants work properly only on surfaces that are already washed.
Then let the product remain wet for the full contact time on the label so it can inactivate remaining pathogens.
Select EPA-Approved Disinfectants
After floodwater recedes, choose an EPA-approved disinfectant to treat affected surfaces and reduce the risk of contamination.
You should read the product label, confirm the target organism, and verify the required contact time before you apply it. Use only the concentration listed, because stronger isn’t safer and weaker won’t protect your space.
Wear gloves and eye protection, and keep the area ventilated so you can work confidently and stay included in a safer recovery routine.
- A labeled bottle on a wet countertop, ready for measured use.
- A gloved hand wiping a damaged wall with controlled, even strokes.
- A timer set beside a treated surface, marking the full contact period.
When you select the right disinfectant, you help your home or workplace move toward clean, compliant recovery.
Clean Before Disinfecting
Before you apply any disinfectant, clean flood-damaged surfaces to remove mud, silt, grease, and organic debris that can block the product from working effectively.
You should scrape off heavy deposits first, then wash the area with detergent and clean water to lift residue from pores, seams, and corners.
Rinse thoroughly, because leftover grime can shield microbes and reduce sanitation performance.
Use separate cloths, brushes, and buckets for dirty and clean tasks so you don’t spread contamination back onto prepared surfaces.
Change wash water when it becomes cloudy.
Dry the area as much as possible before you disinfect, since excess soil and standing water weaken control.
When you work methodically, you protect your team, strengthen results, and support a safer recovery for everyone involved.
Allow Proper Contact Time
Once you’ve applied the disinfectant, keep the surface visibly wet for the full contact time listed on the product label. You control this step, and it determines whether the product can inactivate remaining contaminants.
Don’t wipe it dry early, and don’t assume a quick spray is enough. If the surface starts to dry before the timer ends, reapply the solution so the area stays saturated.
- A damp countertop with a clear shine, showing continuous coverage.
- A wall baseboard glistening evenly, with no dry patches at the edges.
- A mop bucket nearby, ready to support a second application if needed.
Follow the label exactly, because different materials and disinfectants require different dwell times.
When you do, you help protect your home and strengthen your recovery team.
Remove Sewage and Hazardous Waste Safely
Sewage and hazardous waste must be removed immediately because they can expose you to bacteria, toxins, and other serious contaminants.
You should treat all saturated materials, sludge, and debris as regulated waste until you confirm otherwise.
Wear gloves, boots, eye protection, and a respirator rated for the conditions, then isolate the area so others don’t enter.
Use dedicated tools and sealed containers to collect waste, and never mix it with ordinary trash or rinse it into drains.
If you find chemicals, fuel, or medical waste, stop and call qualified responders who handle disposal correctly.
Working this way protects your team and keeps the cleanup organized, compliant, and safer for everyone involved.
Check for Airborne Contaminants and Damage
After the visible debris is cleared, you should check the air for mold spores, dust, asbestos fibers, and chemical vapors that floodwater can release as materials dry and break down.
Use a particulate monitor or inspection notes to identify lingering hazards before you re-enter or resume work.
Watch for staining, warped drywall, swollen trim, and soft flooring, because these signs often point to hidden contamination.
- A basement hazed with fine dust, lit by a narrow beam.
- A ceiling stain spreading like a gray map.
- A wall panel bulging beside a damp, musty corner.
If you detect strong odors, visible fungal growth, or damaged insulation, treat the area as unsafe.
You and your team stay stronger when you verify the air, document damage, and keep each other protected.
Call Professional Flood Cleanup Help
Call professional flood cleanup help when contamination, structural damage, or hidden moisture may exceed what your crew can safely handle.
You’ll gain technicians who assess water category, isolate hazards, and set up containment so your team stays protected. They use moisture meters, thermal imaging, air movers, and dehumidifiers to locate trapped water in framing, insulation, and subfloors.
They also remove unsalvageable materials, disinfect affected surfaces, and verify drying before rebuild work starts.
If sewage, mold, or electrical risk is present, don’t improvise. Bring in certified specialists who follow industry protocols and document each step.
You’ll protect the property, reduce secondary damage, and join a recovery process built on proven standards, clear communication, and shared confidence.
Frequently Asked Questions
How Soon Should Cleanup Begin After Floodwater Recedes?
You should begin cleanup immediately, ideally within 24 to 48 hours after floodwater recedes. You’ll limit mold growth, reduce contamination, and improve recovery outcomes by acting fast and documenting damage before drying starts.
What Personal Protective Gear Is Needed During Flood Cleanup?
You’ll need gloves, waterproof boots, eye protection, and an N95 or respirator; for heavier exposure, wear disposable coveralls. These safeguards quietly keep you in the fold while limiting contact with contaminated water, debris, and aerosols.
Can Household Cleaners Remove Flood Contaminants Effectively?
Yes, you can use household cleaners for light surface cleaning, but they usually won’t fully remove flood contaminants. You’ll need detergent, disinfectant, and often professional remediation to safely eliminate sewage, mold, and chemicals.
How Long Does Flood Cleanup and Sanitizing Usually Take?
Flood cleanup and sanitizing usually take from a few days to several weeks, depending on water depth, contamination, material loss, and drying time. You’ll need inspection, removal, disinfection, and verification before reoccupying safely.
What Insurance Records Should I Keep After Flood Damage?
Keep claim numbers, adjuster contacts, photos, videos, receipts, estimates, inventories, and correspondence; yes, because paperwork outlasts puddles. You’ll prove losses faster, join the competent survivors, and keep insurers from “misplacing” your recovery.
Review
You’ve moved from murky standing water to a cleaner, safer space, one measured step at a time. As you remove debris, dry hidden cavities, disinfect surfaces, and control mold, you strip away the flood’s aftereffects like silt washing off a hard surface. If sewage, hazardous waste, or airborne contaminants linger, don’t guess—get expert help. With disciplined cleanup and sanitizing, you can restore your home to a healthier, more stable condition.