Nearly half of water-damaged buildings develop mold if drying is delayed, and you can stop that clock fast. You need to document every affected area, remove residual moisture, and treat exposed surfaces with approved antimicrobials. Keep indoor humidity below 60%, inspect hidden water damage restoration cavities with a moisture meter, and watch for leaks. The first 48 hours matter most, and what you miss now can come back later.
Key Takeaways
- Start mold prevention immediately after cleanup by removing standing water, drying surfaces, and documenting all affected areas.
- Use dehumidifiers, air movers, and ventilation to keep indoor humidity between 30% and 60%.
- Remove baseboards, pull back carpet, and inspect hidden cavities, subfloors, and framing for trapped moisture.
- Check plumbing, roofs, windows, and appliances for leaks, and verify suspicious areas with a moisture meter.
- Remove porous materials that cannot be sanitized and continue monitoring until all readings stay at dry baseline levels.
Start Mold Prevention Right After Cleanup
As soon as cleanup ends, you need to start mold prevention immediately, because residual moisture can support growth within 24 to 48 hours.
In mold prevention after water damage restoration, you should document affected areas, verify that all standing water is gone, and confirm that surfaces are clean. Then apply approved antimicrobial treatments where appropriate, and maintain strict humidity control below 50 percent.
You belong in a response plan that prioritizes speed, because delayed action raises contamination risk and weakens recovery.
Inspect hidden seams, baseboards, and subfloors with calibrated meters, and track readings until they stabilize. Keep rooms ventilated, run dehumidifiers continuously, and remove porous materials that can’t be sanitized.
Your disciplined follow-through protects the structure and supports your team’s shared recovery goals.
Dry Out Walls, Floors, and Cavities
Once standing water is gone, you need to dry walls, floors, and hidden cavities fast to stop trapped moisture from feeding mold.
You should remove baseboards, pull back carpet, and expose wet framing so air can reach every surface. Use high-velocity air movers to push air across materials, and place dehumidifiers nearby to draw moisture out of the structure.
Drill small access holes in closed wall or ceiling cavities when needed, then verify airflow through each void. Check subfloors, insulation, and trim with a moisture meter until readings return to dry baseline levels.
Don’t reseal finishes too soon; trapped dampness can restart growth. When you dry each layer thoroughly, you protect your space and help your home recover with confidence.
Keep Humidity Under Control
Even after drying surfaces, you still need to control indoor humidity so hidden moisture doesn’t support mold regrowth.
Keep relative humidity between 30% and 60% by using dehumidifiers, HVAC, and ventilation that matches the room load.
Check readings with a calibrated hygrometer in living areas, basements, and closets, because pockets of damp air can form after restoration.
Run exhaust fans during showers and cooking, and vent dryers outdoors.
Seal air leaks that let humid air enter, and maintain steady indoor temperatures to reduce condensation on cool surfaces.
Empty dehumidifier reservoirs promptly and clean filters as directed.
When you manage humidity consistently, you protect your home’s structure and help everyone in the space stay comfortable, confident, and part of a healthier environment.
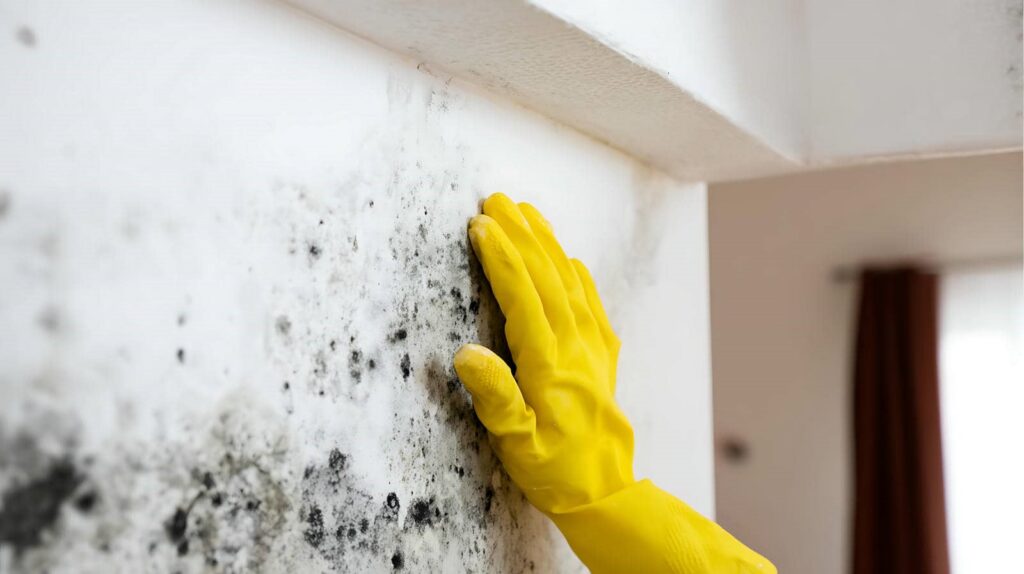
Clean Mold-Prone Surfaces Safely
Clean mold-prone surfaces with methods that remove residue without spreading spores. You should wear gloves, eye protection, and an N95 respirator, then isolate the area with good ventilation.
Use a damp microfiber cloth and a detergent solution to lift dust, biofilm, and settled debris; don’t dry sweep or use high-pressure spraying. Wipe from the cleanest section toward the dirtiest, replacing cloths often so you’re not re-depositing particles.
For nonporous materials, scrub gently, rinse, and dry the surface completely with clean towels. Dispose of used wipes in sealed bags.
Work methodically, and you’ll protect your space and support the team effort that keeps your home healthy. If a surface can’t be cleaned fully, remove it according to safe restoration protocols.
Check for Leaks and Damp Spots
Start by checking plumbing, rooflines, windows, baseboards, and appliance connections for any active leaks or moisture intrusion.
Then inspect walls, ceilings, flooring edges, and cabinet backs for damp spots, staining, or swelling that signals hidden water. You should use a flashlight and, if available, a moisture meter to verify suspicious areas, because surface dryness can hide trapped moisture.
Tighten loose fittings, replace worn seals, and document each affected location so your restoration team can track progress accurately.
If you belong to a household recovering from water damage, this careful sweep helps protect shared spaces from mold pressure.
Recheck after rainfall, laundry cycles, and heavy plumbing use, since small leaks often reappear under load.
Keep Mold From Returning Long Term
To keep mold from returning long term, you need continuous moisture monitoring in vulnerable areas after restoration.
You should control indoor humidity to remain below 60%, ideally near 30% to 60%, because sustained dampness drives regrowth.
You also need routine inspections of walls, flooring, HVAC components, and hidden cavities so you can correct new moisture issues before mold establishes itself.
Moisture Monitoring
How do you keep mold from coming back after water damage restoration? You monitor moisture with discipline.
Use a calibrated moisture meter to check drywall, baseboards, subfloors, and hidden cavities after repairs. Record readings daily until values stabilize within your target range.
Compare each area against a dry standard so you can spot rebound fast. If a reading rises, act immediately and recheck after drying. Your team should document locations, dates, and trends so everyone stays aligned and accountable.
- Inspect high-risk materials.
- Measure at the same time each day.
- Log data in one shared file.
- Escalate any upward trend fast.
Consistent monitoring gives you the evidence you need to protect your space and keep mold from returning.
Humidity Control
Because mold thrives when indoor air stays damp, you need to keep relative humidity under control after water damage restoration.
Target 30% to 60% RH, and use a calibrated hygrometer to verify readings in each affected space. Run dehumidifiers continuously until levels stabilize, and size them for the room volume and moisture load.
Keep HVAC fans operating when conditions allow, because steady air circulation helps remove vapor and prevents condensation on cool surfaces.
Close windows during humid weather, and seal obvious air leaks that pull in moist outdoor air.
If you live in a tightly occupied home, share responsibilities so everyone tracks humidity consistently.
That teamwork protects your space, supports lasting recovery, and helps your home stay dry, safe, and mold-resistant long term.
Routine Inspections
Routine inspections help you catch hidden moisture before it turns into new mold growth. You should check your restored spaces on a set schedule, because small leaks often return in wall cavities, under flooring, and around HVAC components.
Use a flashlight, moisture meter, and visual survey to verify dry conditions. Inspect these areas consistently:
- Plumbing joints and supply lines
- Baseboards, trim, and drywall seams
- Attics, crawl spaces, and closets
- Windows, roofs, and exterior penetrations
If you find staining, odors, or elevated readings, act immediately. Dry the area, correct the source, and document every finding.
This disciplined routine keeps your home’s recovery team aligned, protects your investment, and helps you stay confident that mold won’t regain a foothold.
Frequently Asked Questions
How Soon Should Mold Prevention Start After Water Damage Cleanup?
You should start mold prevention immediately after cleanup, ideally within 24 to 48 hours. You’ll reduce growth risk by drying materials fast, controlling humidity, and removing any remaining damp, porous debris before spores colonize.
What Materials Are Hardest to Dry After Flooding?
Like a sponge in a storm, you’ll find carpet padding, drywall, insulation, particleboard, and upholstered furniture hardest to dry because they trap moisture. You should remove or dehumidify them quickly to prevent hidden contamination and structural decay.
Which Humidity Level Helps Prevent Mold Growth?
You’ll prevent mold best by keeping relative humidity below 60%, ideally 30% to 60%. You can use dehumidifiers and ventilation to stay there, and you’ll protect your materials, comfort, and shared spaces.
What Cleaning Products Are Safest for Mold-Prone Surfaces?
You’ll want pH-neutral cleaners, diluted detergent, and EPA-registered antifungal products; they’re safest for mold-prone surfaces. Avoid bleach on porous materials, because it’s a blunt storm that can leave roots behind and weaken finishes.
How Often Should Hidden Leaks Be Checked?
You should check hidden leaks monthly, and after storms or plumbing work, so you catch moisture early. Your team stays protected when you inspect walls, cabinets, and crawlspaces for dampness, stains, odors, or warped materials.
Wrap-Up
After cleanup, you need to act fast to stop mold from taking hold. Dry walls, floors, and hidden cavities completely, then keep indoor humidity below 60% with dehumidifiers and ventilation. Clean vulnerable surfaces with approved antimicrobials, and inspect for leaks or damp spots regularly. If it seems unnecessary, remember this: mold often starts where you can’t see it. Consistent monitoring and quick response keep your restored space dry, stable, and safe long term.