
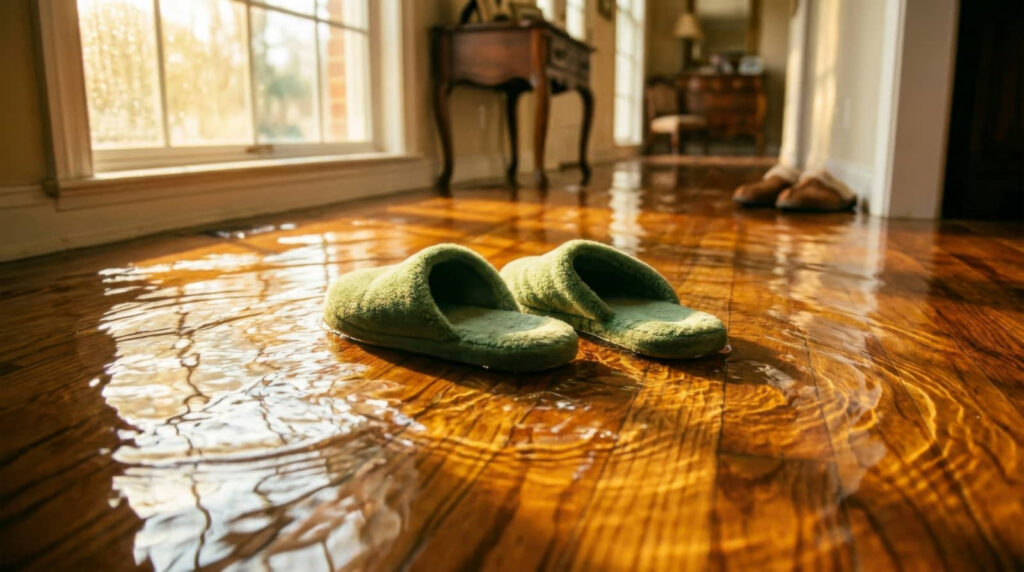
When storm surge tears through your property, what’s left first—water, or warning? You need to inspect for soaked drywall, warped flooring, and shifted framing, then check for unsafe structural movement before you touch anything else. Remove standing water fast with pumps or wet vacs, start aggressive drying with air movers, and document every failure in plumbing and wiring, because the next step can decide whether repairs hold or collapse.
Key Takeaways
- Identify storm surge damage by checking for soaked drywall, warped flooring, salt-crusted metal, and signs of hidden moisture.
- Shut off power, use protective gear, and document visible structural damage before entering or inspecting further.
- Remove standing water with pumps or wet vacs, working from the highest waterline down to reduce pressure.
- Dry structures with air movers and dehumidifiers, and replace saturated insulation instead of drying it in place.
- Test plumbing, electrical, appliances, and HVAC systems before restoring finishes or re-energizing the home.
What Does Storm Surge Damage Look Like?
Storm surge can leave a hard-edged trail of destruction, and you may see it immediately in soaked drywall, warped flooring, collapsed insulation, and mud-caked surfaces.
You’ll also notice swollen trim, stained baseboards, salt-crusted metal, and a sharp damp odor that lingers in closed rooms.
Floodwater can push debris deep into cracks, leaving gritty residue on cabinets, outlets, and vents.
In flood damage repair after storm surge, you need to track every wet material fast, because hidden moisture spreads fast and worsens losses.
Look for peeling paint, buckled laminate, rusted fasteners, and discoloration around doors and windows.
You’re not facing this alone; every visible mark tells your recovery team where to focus next.
Check Structural Damage Safely
Before you enter or touch anything, check the structure from a safe distance for visible failure signs like sagging ceilings, bowed walls, shifted foundations, cracked framing, and separated joints.
If you spot any of these, keep out and call a licensed structural professional. You should also look for leaning columns, displaced roof lines, or fresh gaps around doors and windows.
Use a flashlight, not a switch, and avoid standing under damaged spans. Wear boots, gloves, and eye protection, because broken fasteners and hidden debris can injure you fast.
If the building feels unstable, shut off access and warn others immediately. You’re part of the recovery team now, and your caution protects everyone.
Document what you see with photos from outside, then wait for clearance before going farther.
Remove Standing Water First
Pump out standing water as soon as it’s safe to do so, because pooled water keeps damaging flooring, drywall, insulation, wiring, and framing.
You should use submersible pumps, wet vacs, or a truck-mounted extractor sized for the flood depth, then move water to an approved discharge point.
Shut off power to affected circuits before you enter. Wear boots, gloves, and eye protection, and watch for hidden debris or unstable surfaces.
Work from the highest remaining waterline down so you lower hydrostatic pressure steadily. If water is contaminated, isolate the area and avoid splashing.
Keep records of water levels, pump times, and disposal locations for your claim. Acting fast helps your crew stay safer and keeps the rebuild moving together.
Dry Walls, Floors, and Insulation
After you remove standing water, you need to dry drywall, floors, and cavities immediately with high-velocity air movers, dehumidifiers, and targeted heat to limit wicking and hidden moisture.
You should monitor moisture content in framing and wall assemblies, because trapped dampness can keep mold and structural decay active long after surfaces look dry.
If insulation is saturated, compressed, or contaminated, you’ll need to replace it rather than try to dry it in place.
Drywall Drying Methods
Drywall dries best when you act fast and control the environment: remove standing water, open wall cavities where needed, and use high-velocity air movers, dehumidifiers, and targeted ventilation to drive moisture out of drywall, flooring, and insulation.
You should map wet zones, then set equipment to create steady airflow across surfaces and into cavities. Keep indoor humidity low, and monitor material temperature, moisture content, and surface dryness with a meter.
If baseboards, trim, or lower drywall edges trap water, expose them so air can reach hidden areas. Check floors for warping or cupping as they dry, and keep the room clean so your crew can work safely.
When you stay aggressive and organized, you protect the structure and stay on track together.
Insulation Replacement Needs
If floodwater has soaked insulation, you’ll usually need to replace it rather than try to dry it out, because wet fiberglass, cellulose, and foam can hold contamination, lose R-value, and trap moisture against framing and subfloors.
You should remove damaged drywall and expose cavities so you can inspect studs, sill plates, and floor joists for staining, swelling, or mold.
In insulated floors, pull wet batts and check the underside of the subfloor for delamination or rot.
If you keep compromised material, you risk hidden decay and poor indoor air quality.
Work with your restoration crew to match replacement insulation to the assembly, seal air leaks, and restore vapor control.
That way, your home’s envelope can dry safely, perform properly, and feel like yours again.
Replace Flood-Damaged Materials
Tear out and replace any flood-damaged materials that can’t be reliably cleaned and restored, especially porous building components that trap moisture, silt, and contaminants.
You need to remove drywall, insulation, subflooring, carpeting, and other degraded assemblies before hidden decay spreads. Work methodically, section by section, so you can verify what’s sound and what’s not.
Bag debris immediately, keep pathways clear, and separate salvageable materials from waste to reduce cross-contamination. Choose replacement products rated for moisture resistance where appropriate, and install them only after framing and cavities are dry and clean.
If you’re part of a recovery crew, stay aligned on safe removal, disposal, and reinstallation steps so everyone moves fast and stays protected.
Prompt replacement helps your space recover stronger, cleaner, and safer.
Restore Plumbing, Wiring, and Finishes
You need to inspect hidden utility damage in walls, floors, and ceilings before you re-energize or pressurize any system, because floodwater can compromise wiring, pipes, and junctions you can’t see.
Replace contaminated finishes like drywall, insulation, trim, and flooring that absorbed sewage or stagnant water, since they’ll keep spreading moisture and contamination.
Test plumbing, wiring, and all restored fixtures before use so you can catch leaks, shorts, and unsafe circuits immediately.
Assess Hidden Utility Damage
After a storm surge, hidden utility damage often extends far beyond what you can see on the surface, so inspect plumbing, wiring, and interior finishes before any restoration work moves forward.
Shut off power and water, then test each circuit, outlet, and fixture for moisture intrusion, corrosion, or insulation failure. Check supply lines, drain traps, valves, and water heaters for leaks, sediment, and backflow contamination.
Remove access panels and probe wall cavities with a moisture meter and thermal camera to find trapped water around pipes and junctions. Document every defect, isolate compromised systems, and call licensed tradespeople fast.
When you act together and stay methodical, you protect your crew, prevent secondary failures, and keep the recovery on track.
Replace Contaminated Finishes
Once you’ve confirmed the hidden utility damage, remove and replace any contaminated finishes before mold, corrosion, or concealed decay spreads further.
You need to strip out wet drywall, insulation, baseboards, trim, flooring, cabinet panels, and ceiling materials that held floodwater or salt residue. Cut back finishes to clean, dry edges and expose framing so you can verify nothing is trapped behind them.
Use corrosion-resistant fasteners and moisture-tolerant products when you rebuild. If plaster, paneling, or underlayment smells musty, stains, swells, or crumbles, don’t salvage it.
You’re protecting your home’s structure and your crew’s health by acting fast and staying exacting. Replace damaged finishes in a controlled sequence so walls, floors, and trim close up only after the substrate is dry, sound, and ready for the next phase.
Test Systems Before Use
Before you restore full use, test every system methodically so hidden flood damage doesn’t trigger leaks, shorts, or hidden failures.
Pressurize plumbing slowly, inspect joints, valves, and drains, and run each fixture while watching for drips, odors, or backflow.
Energize wiring only after a licensed electrician verifies breakers, outlets, grounding, and GFCIs; then confirm circuits hold load without heat, flicker, or tripping.
Check appliances, pumps, and HVAC controls one by one.
Refit finishes only after substrates stay dry and stable.
Stay with your crew, document every reading, and fix any defect before moving on.
If you’re rebuilding together after storm surge, this final testing phase protects your home, your neighbors, and the recovery you’ve worked hard to earn.
Frequently Asked Questions
How Soon Should Insurance Claims Be Filed After Storm Surge Flooding?
You should file your claim immediately after storm surge flooding, ideally within 24 hours. You’ll protect your coverage, speed inspection, and strengthen documentation. Contact your insurer, report losses, and keep records, photos, receipts, and mitigation steps.
What Permits Are Required Before Major Flood Repair Begins?
You’ll usually need building, electrical, plumbing, and mechanical permits before major flood repair begins, plus floodplain or zoning approvals; contact your local building department immediately, because starting work without them can trigger costly stop-work orders.
How Can Mold Be Prevented During Long-Term Recovery?
If you dry framing within 24 hours, you’ll stop mold before it starts. You should dehumidify, remove porous materials, and monitor moisture daily; for example, a soaked wall cavity can still grow colonies after seeming dry.
Which Professionals Should Inspect Damage Beyond Visible Flooding?
You should hire a structural engineer, licensed electrician, plumber, HVAC contractor, and industrial hygienist; they’ll inspect hidden framing, wiring, pipes, ducts, and contamination so you can rejoin a safe, restored home quickly.
How Should Belongings Be Salvaged After Saltwater Intrusion?
You should sort, rinse, and dry salvageable belongings immediately, discard porous items, and photograph everything. When in doubt, toss it out; saltwater corrosion and contamination worsen fast, so you’ll protect your home and community.
Conclusion
You’ve now traced the path from storm surge to recovery, and your next steps matter. Finish each inspection, document every affected area, and don’t rush the final checks on framing, wiring, and plumbing. Once you’ve removed lingering moisture, replaced tired materials, and verified safe utility performance, your space can settle back into service. Stay methodical, stay alert, and let each repair quietly lift the burden of damage, one careful step at a time.