
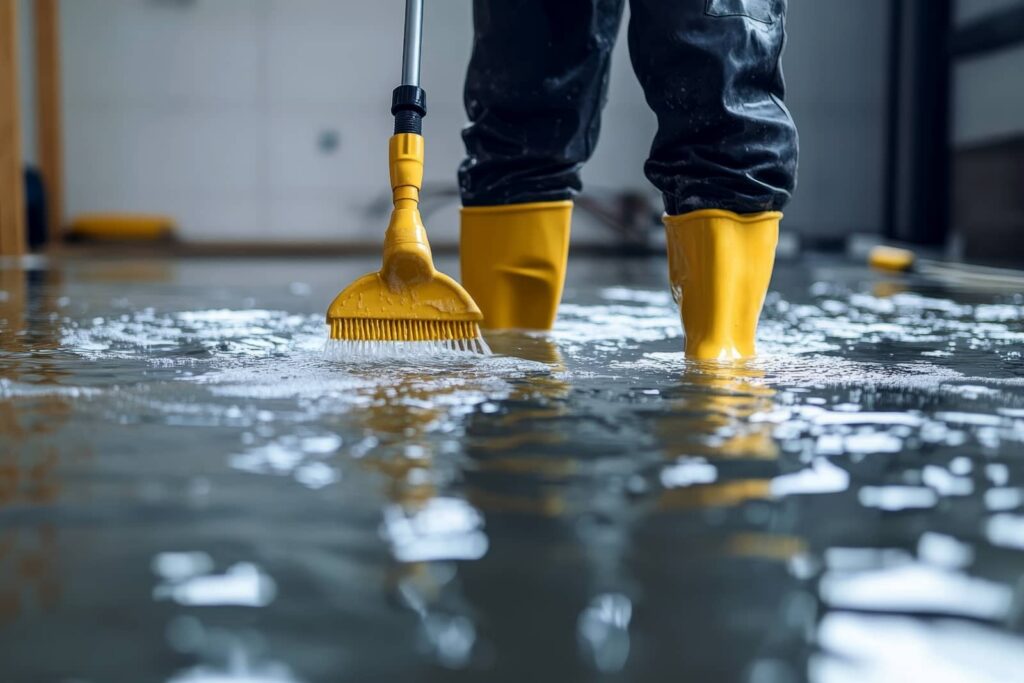
A flooded hardwood floor can start changing shape within hours, so your first moves matter more than you might think. Flood Cleanup for Hardwood Floors starts by stopping the water, removing standing water, and beginning controlled drying before cupping or buckling sets in. The tricky part is knowing which boards can recover and which ones can’t, and that’s where a careful next step can make all the difference.
Key Takeaways
- Act quickly to remove standing water and limit cupping, buckling, and permanent hardwood damage.
- Contain water with towels or plastic barriers, and clear nearby rugs, furniture, and wet debris.
- Dry floors with box fans, a dehumidifier, and slightly raised temperatures to reduce trapped moisture.
- Inspect boards, seams, subfloor, and finish for swelling, warping, staining, soft spots, or separation.
- Call a restoration professional if water reached the subfloor, damage is widespread, or moisture stays high after 24–48 hours.
Act Fast on Flooded Hardwood Floors
Act quickly when your hardwood floors flood, because the faster you respond, the better your chances of limiting cupping, buckling, and lasting damage. You’re not facing this alone; careful flood cleanup for hardwood floors starts with prompt assessment.
Check the boards, subfloor, and finish for visible swelling, staining, or separation, then document what you see. Next, call a qualified restoration professional if water has soaked beneath the surface or reached multiple rooms.
Hardwood absorbs moisture fast, and delayed action raises the risk of permanent distortion. Keep your approach calm and systematic, and you’ll make better decisions under pressure.
When you move fast and stay methodical, you protect the floor’s structure, preserve more material, and improve the odds that your home feels like home again.
Stop Water From Spreading
Block nearby doorways right away, and seal off adjacent rooms so floodwater can’t keep moving through the house.
Use towels, plastic sheeting, or other barriers to contain moisture pathways and limit wicking into surrounding flooring.
Block Nearby Doorways
Before you do anything else, seal off nearby doorways with towels, rolled blankets, or plastic sheeting to keep floodwater from reaching other rooms.
You’re creating a simple barrier that slows migration while you assess the floor. Press the material tightly along the threshold and extend it edge to edge so water can’t slip around the sides.
If the room has multiple exits, block each one the same way. Check the barriers every few minutes and replace anything that becomes saturated or shifts out of place.
Keep traffic low, and don’t open the blocked doorway unless you need to move equipment. This step helps protect adjoining spaces, limits cleanup time, and gives your hardwood a better chance at recovery.
Seal Off Adjacent Rooms
Seal off adjacent rooms as soon as you can so floodwater doesn’t spread through the house. Close doors, then tape plastic sheeting over the frames to create a temporary barrier.
If you can, run the sheeting from floor to ceiling and press the edges flat with painter’s tape so you get a tighter seal. Keep affected traffic out, and remind everyone in your home that even small footstep splashes can move water farther than you expect.
You’re protecting the rooms that haven’t been hit yet, which gives your cleanup plan a better chance of working. Check the barrier often for gaps, and replace any loose tape right away.
When you act early and stay consistent, you help your floors and your household stay on the same recovery path.
Contain Moisture Pathways
Once the room is isolated, you should focus on stopping water from traveling through the floor system and into hidden spaces. You can place absorbent towels at baseboards, door thresholds, and along seams to catch runoff.
If water is pushing under trim or into wall cavities, use a wet vacuum at the edge and remove surface moisture in passes. Lift floor vents, registers, and connector strips where possible, then check for wet subflooring.
Block pathways with plastic sheeting or foam dams only where they won’t trap moisture. Keep airflow directed across the surface, not into cavities.
You’re protecting the whole floor assembly now, and every controlled barrier helps your space dry more evenly, which gives you and your home a better chance at recovery.
Remove Standing Water and Wet Materials
Start by removing all standing water as quickly as possible, using a wet/dry vacuum, pump, or absorbent towels to pull moisture off the floor.
Work from the outer edges toward the center so you don’t spread water into drier boards.
Lift soaked rugs, pads, furniture glides, and baseboard materials that trap moisture against the wood.
Bag and remove wet drywall debris, paper goods, and insulation if they’re touching the floor.
Check under appliances and in corners where water settles, and keep a clean path for safe access.
Replace saturated towels often, and don’t press debris deeper into seams.
You’re protecting the boards now, and every item you remove reduces swelling, staining, and hidden contamination before it can take hold.
Dry Hardwood Floors Fast
As soon as the surface water is gone, you need to dry the hardwood fast to limit cupping and glue failure.
Set up box fans to move air across the floor, not just into the room, and keep windows open only if outdoor air is drier. Run a dehumidifier continuously to pull moisture from the space.
If you can, raise the room temperature a little to speed evaporation without overheating the wood. Lift area rugs, pads, and furniture so trapped moisture can escape.
Wipe visible damp spots with clean towels, then check under baseboards and at seams for lingering wetness. Work in sections and track progress each hour.
You’re not alone here—steady airflow, low humidity, and patience give your floor the best chance to recover.
Check for Cupping, Buckling, and Warping
Check each board for cupping, where the edges rise and the center stays lower, since this often signals trapped moisture.
Watch for buckling or lifted planks, because those are urgent alerts that the floor may still be moving.
Then inspect for warping by looking for twists, crowns, or uneven surfaces, and document any changes so you can judge whether the floor’s stabilizing.
Cupping Signs
When water hits hardwood, the boards often signal trouble through cupping, buckling, or warping.
For cupping, you’ll notice each board’s edges lifting higher than the center, creating a shallow channel across the grain. Run your hand over the surface and look for a slight ridge at the seams; that’s your early warning.
Check several spots in good light, especially near walls, doorways, and wettest areas. If the floor feels uneven but still lies flat overall, you’re likely seeing cupping rather than a deeper failure.
Document what you find with photos and short notes so you can track changes over time. Act promptly, but stay calm: catching cupping early gives your floor the best chance to recover with your cleanup team.
Buckling Alerts
Buckling is the more serious warning sign, and it often follows or accompanies cupping after a flood. You’ll see boards lift off the subfloor, make sharp ridges, or separate at seams. That means moisture has overwhelmed the floor assembly, and your next steps matter.
Stay calm; you’re not alone in this cleanup process.
- Mark affected areas so you can track changes.
- Stop foot traffic to reduce added stress.
- Measure indoor humidity and keep it steady.
- Call a flooring pro quickly for an assessment.
If the floor feels spongy or moves under pressure, treat it as urgent. Fast action can still improve salvage chances and limit replacements. Your careful response gives the floor its best chance to recover.
Warping Checks
Even a few hours after flooding, you should inspect the floor for cupping, buckling, and other warping so you can judge how far the moisture has spread.
Walk each room slowly and look for board edges that rise, seams that separate, and planks that press upward from the subfloor. Run your hand across the surface to feel uneven shifts.
If you spot cupping, note whether the centers stay lower than the edges; if you see buckling, check for lifted sections or cracked joints. Mark damaged areas with painter’s tape so you can track changes as drying continues.
You’re not alone in this process: a careful, consistent check helps you decide whether controlled drying may save the floor or whether you need professional help right away.
Decide What Floors Can Be Saved
Start by inspecting how far the water has penetrated so you can decide which hardwood floors you can still save. Check surface staining, lifted edges, and soft spots, then map the affected area room by room.
If water stayed shallow and the boards still feel firm, you’ve got a better chance of recovery. When swelling runs deep, sections may need replacement instead of repair.
- Mark dry, damp, and saturated zones
- Lift a corner board to assess subfloor contact
- Compare board movement at seams and junctions
- Prioritize stable areas that match the rest of your home
You don’t have to guess alone; careful sorting helps your crew focus effort where it matters most.
Clean and Disinfect Flood-Damaged Wood
Once you’ve identified which boards are still sound, clean the flood-damaged wood right away to remove silt, bacteria, and residues that can keep moisture trapped.
Use a damp microfiber cloth with a wood-safe cleaner, working with the grain so you don’t raise fibers or spread grime. Rinse the cloth often and change solution when it turns cloudy.
Then sanitize the surface with a disinfectant labeled for finished hardwood, following the dwell time exactly. Keep puddles off the floor; wipe each section dry as you go. For seams and edges, use cotton swabs or a soft brush.
Open nearby windows and run fans to keep air moving, but don’t force heat onto the wood. Clean boards dry faster, stay more stable, and give you a better chance of recovery.
When to Call a Water Damage Pro
Call a water damage pro when the flooding soaked the subfloor, covered large sections of hardwood, or left boards cupped, buckled, or separated after drying.
You’ll need expert drying, moisture mapping, and structural inspection to stop hidden decay and mold. A certified crew can remove wet materials, set dehumidifiers, and verify when your floor’s moisture returns to safe levels.
- Moisture remains high after 24–48 hours
- Water reached under cabinets or baseboards
- The floor feels spongy, uneven, or noisy
- You notice musty odors or dark staining
If you’re part of this cleanup, you don’t have to guess. A pro gives you a clear plan, protects the floor’s salvage value, and helps your home recover with confidence.
Frequently Asked Questions
Can Hardwood Floors Be Saved After Sewage Backup?
Yes, you can often save hardwood floors after a sewage backup if you act fast, remove contaminated water, dry thoroughly, disinfect safely, and inspect for warping. You’ll need professional help if damage’s widespread or boards’ve cupped.
How Long Before Mold Starts Under Flooded Wood Floors?
Mold can start in 24 to 48 hours. Dry your floors immediately, then monitor moisture, ventilation, and subfloor conditions methodically.
Should I Remove Baseboards During Hardwood Flood Cleanup?
Yes, you should remove baseboards so you can inspect, dry, and ventilate the wall edge and subfloor. You’ll reduce trapped moisture, improve salvage odds, and keep hidden damage from spreading.
Is It Safe to Use a Shop Vac on Soaked Hardwood?
Yes, you can use a shop vac on soaked hardwood if you move quickly and keep the nozzle from sealing to the floor. You’ll reduce standing water, but you should still dry the boards thoroughly afterward.
Will Insurance Cover Flooded Hardwood Floor Replacement?
You might get coverage, but it depends on your policy, cause, and timing. You’ll need photos, prompt mitigation, and an adjuster’s inspection. Act quickly; delays can reduce your payout and salvage chances.
Summary
Act fast, and you can often save your hardwood floors from turning into a total disaster. Stop the water, remove every bit of standing moisture, and dry the boards with fans and dehumidifiers right away. Check carefully for cupping, buckling, or warping, then clean and disinfect the area. If moisture stays high after 24–48 hours, call a pro. Your quick, methodical response can make all the difference.